
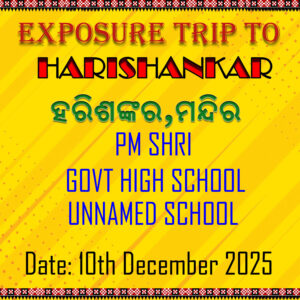
Description
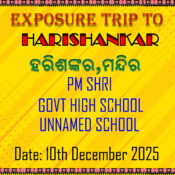
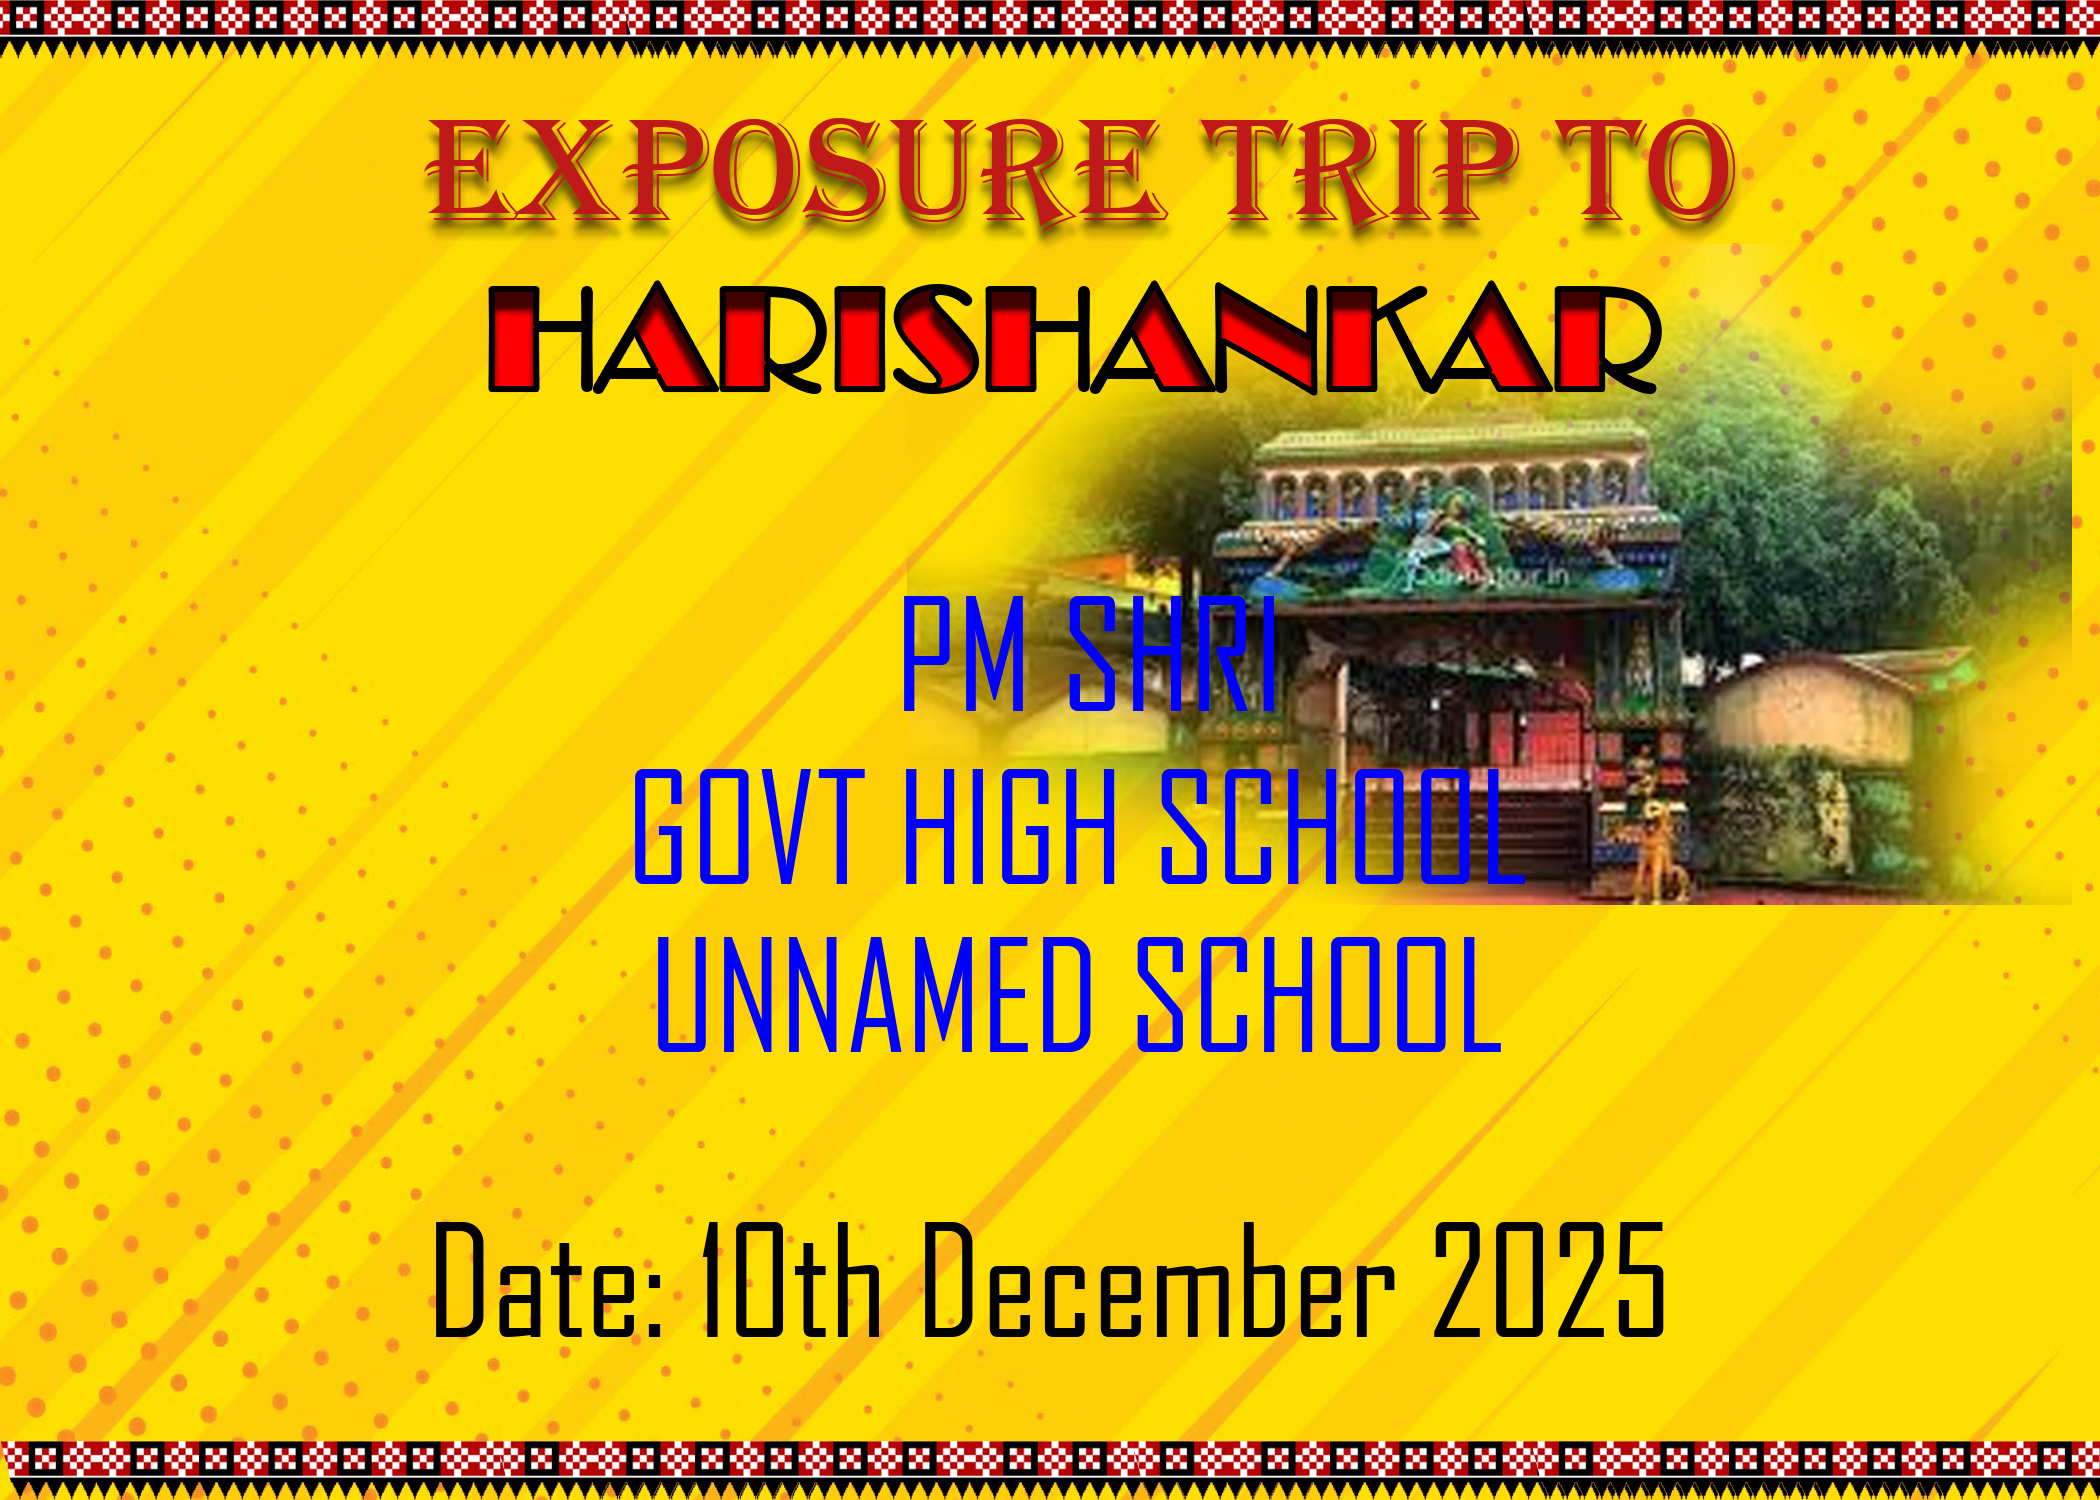
The Exposure Trip to Hari Shankar Design is an artistic representation crafted in Photoshop that captures the essence of a memorable journey and experience. This design is tailored to showcase the highlights, emotions, and vibes associated with the trip, making it ideal for event brochures, posters, or digital storytelling. Below is a description of the design elements and creative processes used in crafting this engaging visual narrative.
Design Elements
- Nature-Inspired Color Palette:
- The design employs a soothing and earthy color palette that reflects the serenity and beauty of the location. Shades of green, blue, and brown are used to evoke a sense of calm, adventure, and connection with nature, aligning perfectly with the theme of an exposure trip.
- Dynamic Composition:
- The layout is thoughtfully structured to facilitate easy navigation through various images and textual elements. It flows naturally, guiding viewers through the story of the trip while highlighting key moments and experiences that participants encountered.
- Creative Typography:
- A blend of bold and script fonts is used for titles and captions, creating an inviting and adventurous tone. The typography choices not only convey the trip’s theme but also enhance the overall aesthetic of the design, making it visually appealing.
- Incorporation of Imagery:
- The design is enriched with high-quality photographs taken during the exposure trip. These images are strategically placed to depict the journey, highlighting significant landmarks, activities, and interactions, thus adding a personal touch to the overall design.
- Background Elements:
- A soft gradient background reminiscent of sunrises or sunsets can provide a tranquil backdrop, allowing the main content to stand out without overwhelming the viewer. Subtle textural elements may also be added to give depth and interest.
- Visual Storytelling Components:
- Infographics or icons may be used to illustrate key data or experiences, such as the number of participants, places visited, or shared highlights. This adds an informative element that supports the visual narrative while keeping it engaging.
Design Process in Photoshop
- Canvas Setup:
- The journey begins by setting up a new canvas in Photoshop with the desired dimensions and resolution suitable for digital display or print format.
- Image Selection and Enhancement:
- Select photographs taken during the exposure trip and enhance them using Photoshop tools. Adjustments like cropping, brightness, contrast, and color correction help to ensure that the images are vibrant and inviting.
- Background Design:
- Create an appealing background using gradients or image overlays that resonate with the theme of the trip. This can include photographs of nature, scenic views, or abstract designs that evoke the spirit of adventure.
- Typography Implementation:
- Add text elements for titles, dates, and descriptions using selected fonts. Utilize layer styles, such as shadows and outlines, to ensure readability while maintaining harmony with the overall design.
- Graphics and Icons Addition:
- Integrate relevant icons, shapes, or graphics that symbolize various aspects of the trip, such as exploration, learning, and connection, enhancing the storytelling aspect of the design.
- Final Composition Adjustments:
- After assembling all elements, fine-tuning is essential to achieve a balanced and cohesive look. Adjust colors, spacing, and layering to ensure that each component complements the others effectively.
- Exporting the Final Design:
- Once all adjustments are complete, the final design is exported in suitable file formats (such as JPEG, PNG, or PDF) for sharing or printing, ensuring high quality and clarity.
Conclusion
The Exposure Trip to Hari Shankar Design in Photoshop serves as a vibrant and compelling visual narrative that reflects the journey’s essence. Through thoughtful use of colors, imagery, typography, and layout, this design invites viewers to experience the adventure and memories created during this exposure trip, making it a powerful storytelling tool.

Reviews
There are no reviews yet.